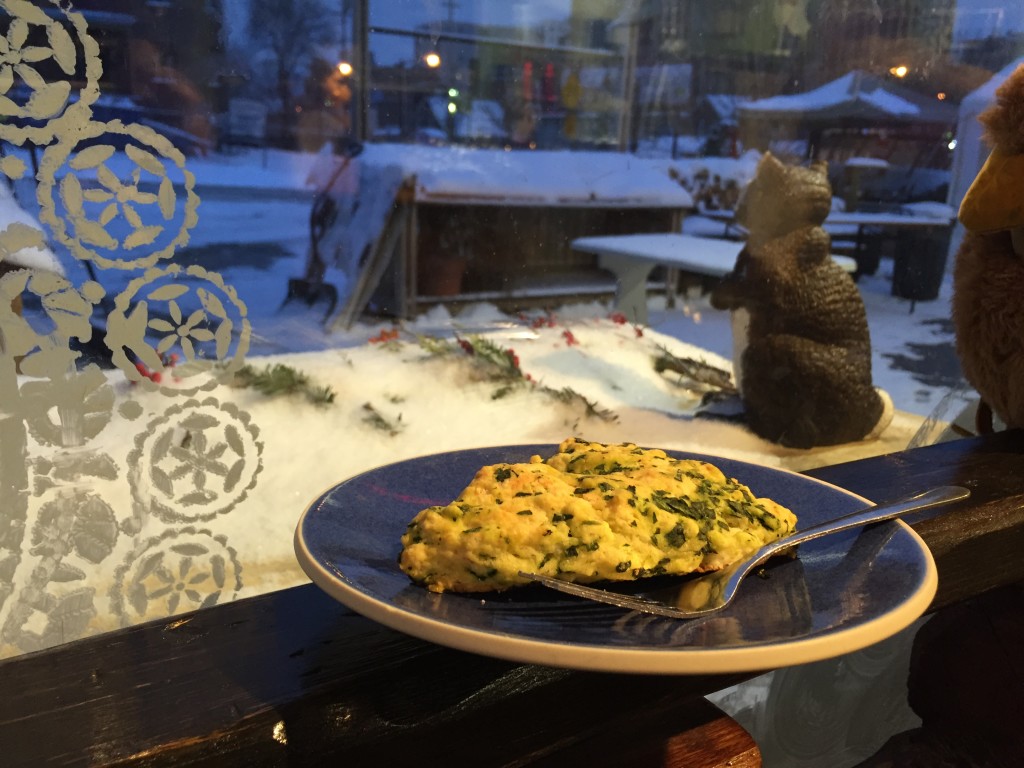
Spinach Feta Scones with Recipe

spinach feta scone why not pie

Cooking with fresh local ingredients is a true pleasure, so I was especially excited to join The Land Loom’s Spinach Club this winter. Hannah Rose Weber farms at Tilian Farm, an incubator farm on the edge of Ann Arbor where new farmers can grow their farming business while defining and perfecting their farming practices. The Land Loom specializes in salad greens, and this winter, Hannah is growing hoop house spinach– that’s right: growing fresh spinach in winter in Michigan! Not to be hyperbolic– this is the most beautiful spinach I’ve had the privilege of cooking with and eating. When I pick up my weekly spinach share, I find the clear plastic bag of spinach practically glowing with concentrated sunlight, and I can’t wait to eat it!

At Why Not Pie, we frequently use spinach as one of the vegetables in our Breakfast Pies, available every day at Argus Farm Stop cafe. Breakfast Pies are a delicious way to sneak a little vegetable into your morning meal, and this spinach adds color, flavor, vitamins, and beauty to our Breakfast Pies!

Our newest recipe development using this healthy green is Spinach Feta Scones. These tasty scones are also available in the Argus Farm Stop cafe. Contrary to what you might have heard, scones aren’t difficult to make, although like many baked goods, there are a few key techniques which, once mastered, can lead to more frequent baking success. For extra local deliciousness, I use local spinach from the Land Loom and local feta from Fluffy Bottoms Farm.

Feta and Spinach Scones

Ingredients:
2 eggs
1/2 cup milk
2 cups flour
1 tablespoon sugar
1 tablespoon baking powder
1/2 teaspoon salt
1/2 cup butter, chilled and cubed
2 cups fresh (or 1 cup frozen) chopped spinach
6 ounces feta, cubed

Method:
1. Beat the eggs in a small bowl. Stir in the milk.

2. In a large bowl, mix flour, sugar, baking powder and salt. Cut in the butter with a pastry cutter.

3. Add the wet ingredients to the dry ingredients. Stir just until combined. Stir in the spinach and feta.

4. Flour your hands and your work surface. Turn out the dough and kneed briefly. Form into a square about 8” by 8”, and then cut into 8 triangles.

5. Place scones on a baking sheet lined with parchment paper. Brush with milk or cream.

6. Bake in a 350F oven for 20-25 minutes, until golden brown.

7. Enjoy a toasty scone immediately or cool completely before storing.

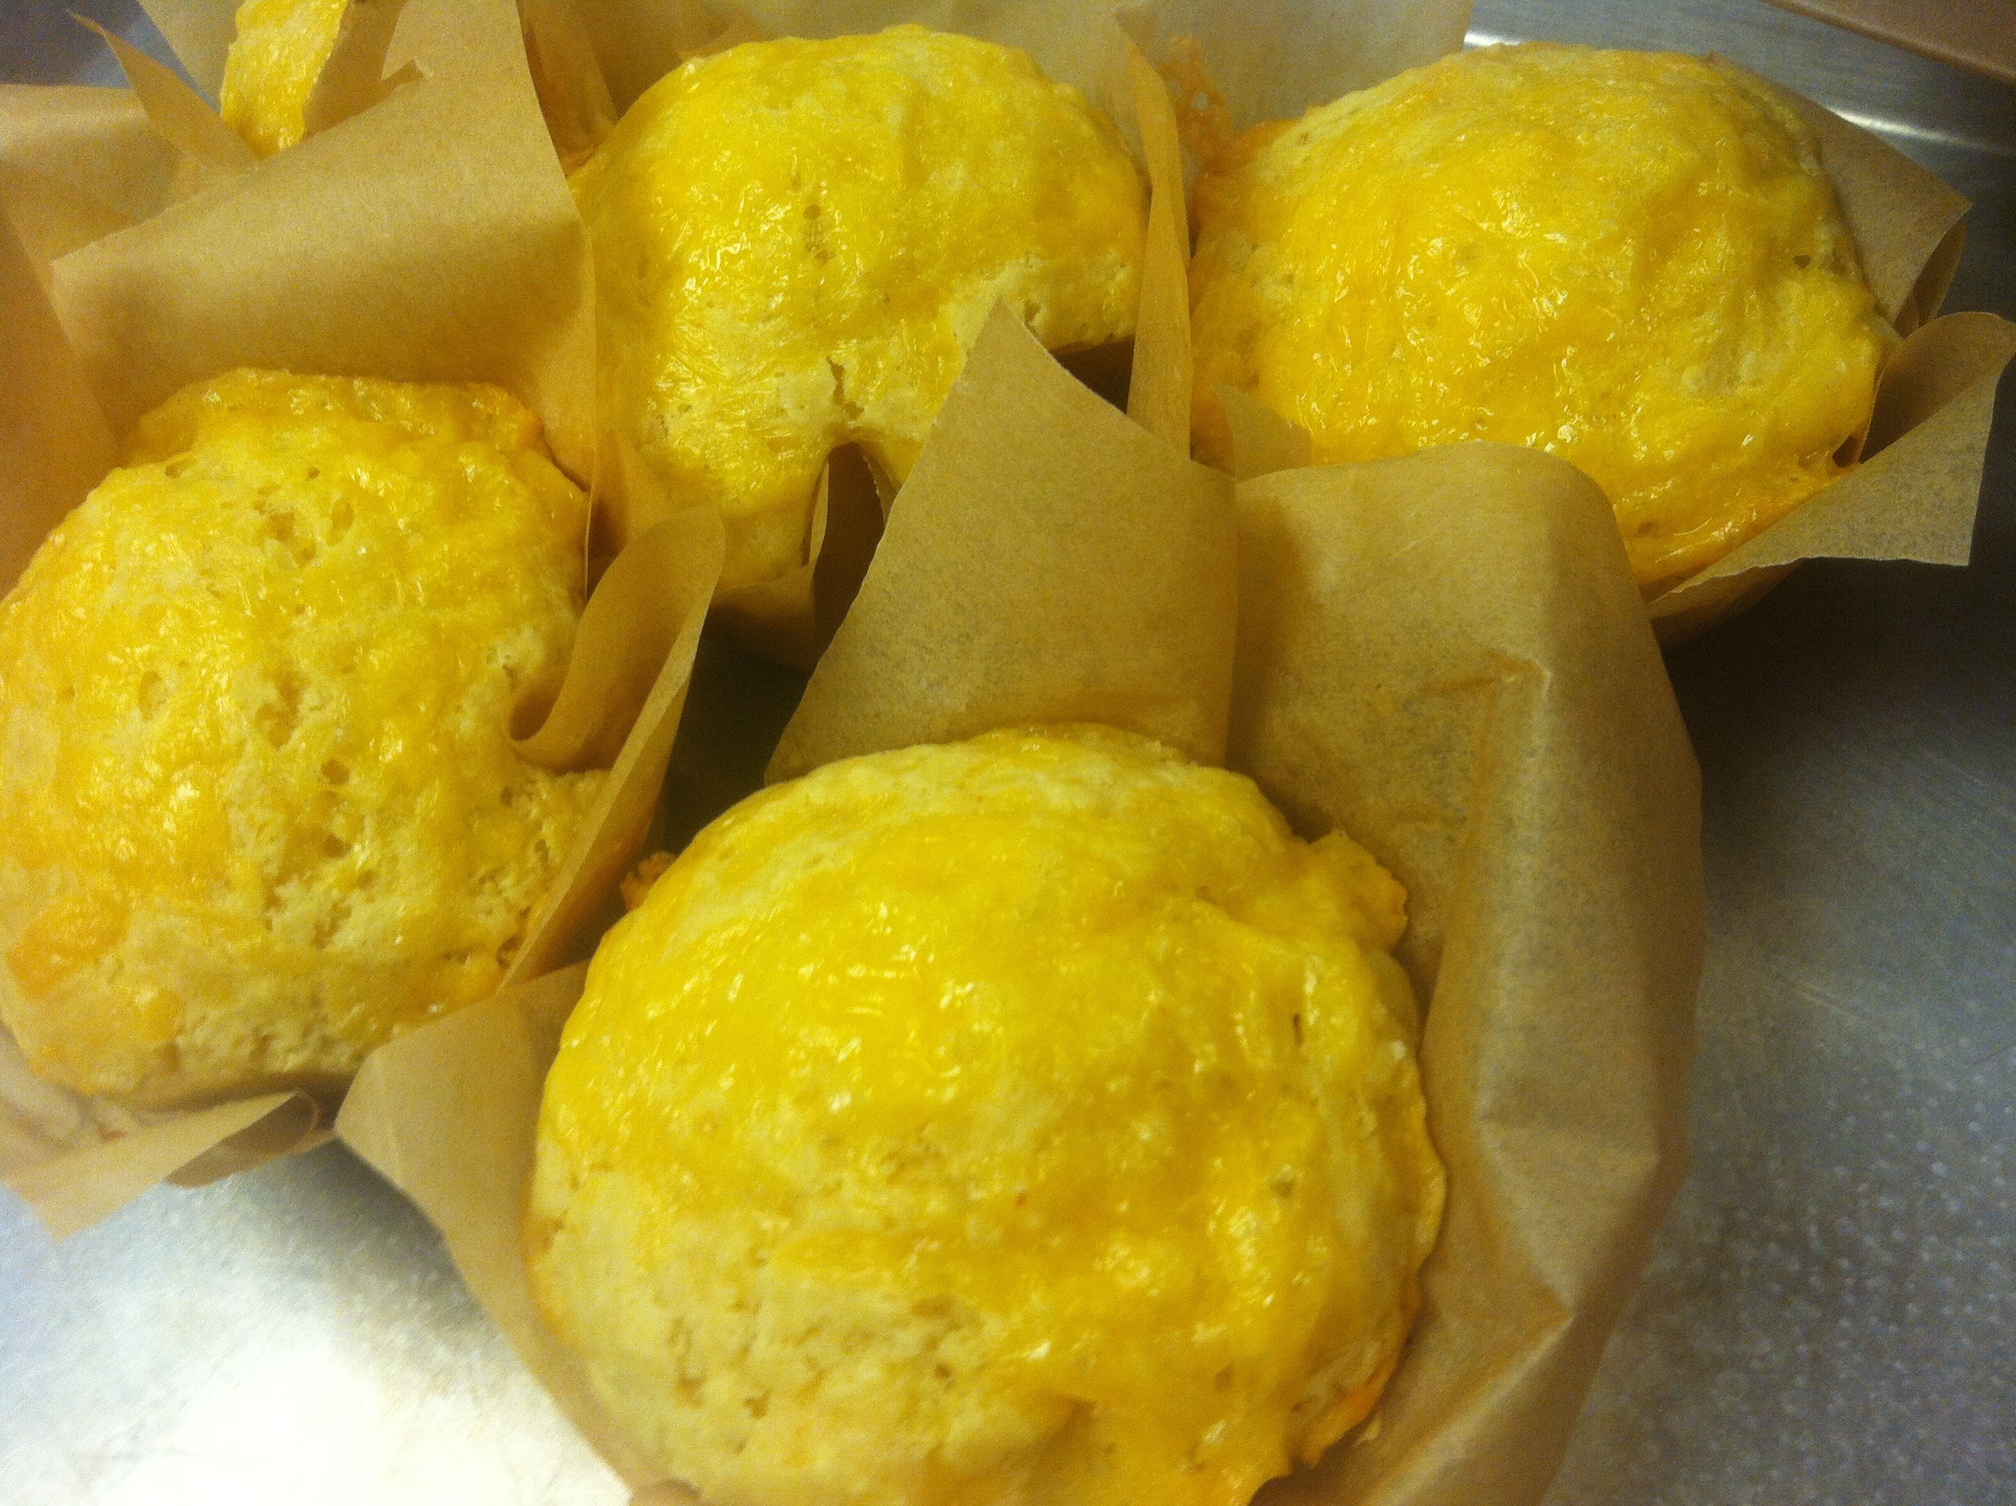
Cheddar Cheese Muffins, with recipe

Cheddar Cheese Muffins

My exploration of the World of Muffins led me to several recipes for Cheddar Cheese Muffins. After some initial research and development, I’m happy to report that I’ve hit on a delicious and satisfying recipe. These muffins have everything I want in a savory muffin:
great flavor, a little spicy kick, and wonderful texture. And cheese.

Cheddar Cheese Muffins

Ingredients:
3 tablespoons butter, melted
1 cup milk
1 large egg, beaten
1/4 teaspoon of cayenne pepper
1 cup all-purpose flour
3/4 cup whole wheat flour
1 tablespoon baking powder
1 tablespoon sugar
1/2 teaspoon salt
4 ounces of grated sharp cheddar cheese

Directions:
1. Preheat oven to 350 degrees F.

2. In a large bowl, melt butter. Add milk, egg and cayenne. Stir to combine.

3. In a second bowl, stir together flour, baking powder, sugar and salt.

4. Stir the cheese into the dry mixture..

5. Add dry mixture to wet mixture, and stir batter only until it is just combined. The batter will be lumpy.

6. Spoon the batter into muffin tins. Fill each tin about 2/3 full.

7. Bake 20- 25 minutes.

Additional tips:
* Really, stir only until the mixture is combined. That’s the secret to tender muffins and true for most quick breads.

* This recipe can make 12 standard muffins, but I prefer to make 6 extra large muffins.

* Save a bit of cheese to sprinkle on top of the muffins just before baking.

Rhubarb Pie with Recipe

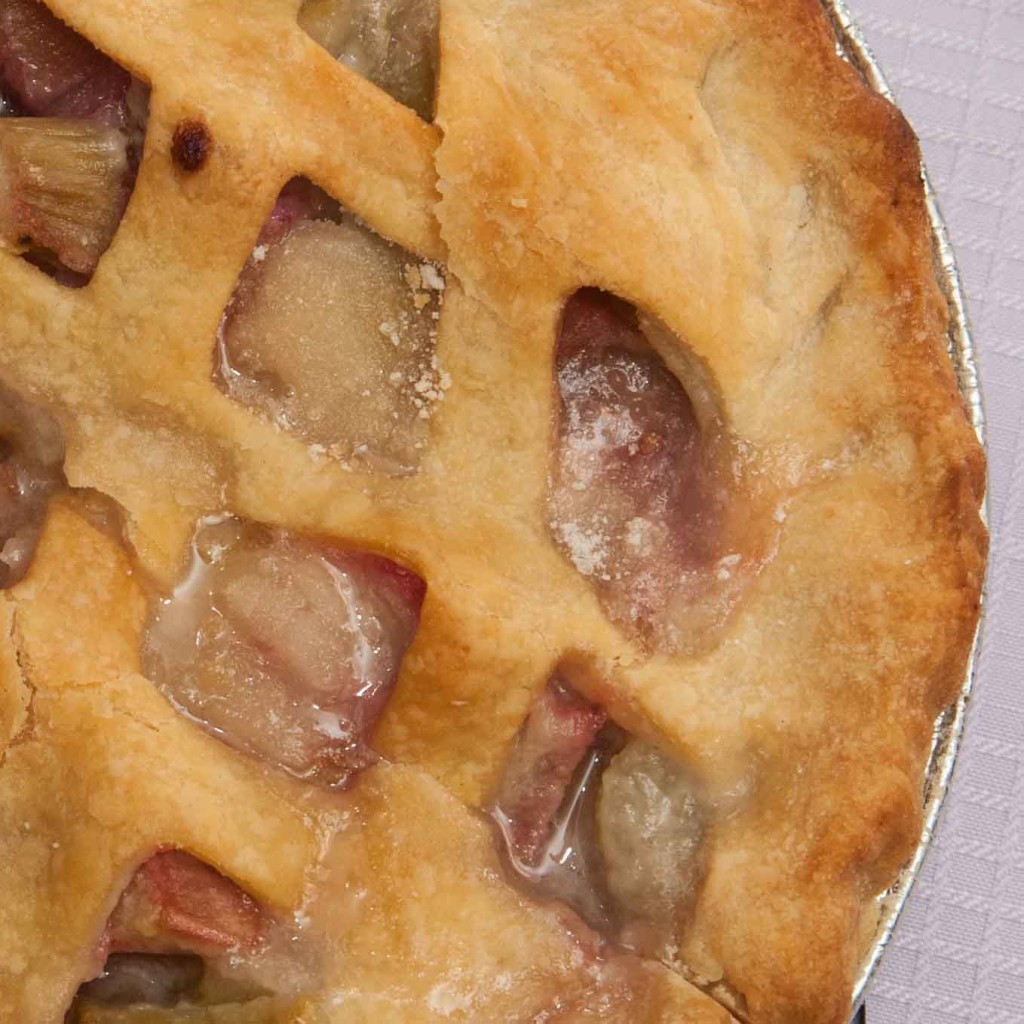
Rhubarb Pie, Photo by Diane and Doug Russell

Rhubarb Pie made with homegrown rhubarb. Sweet, tangy, unmistakably bold flavor that shouts “Spring!”

I really enjoy baking pies made with the rhubarb we grow in our organic urban garden. Last year, I made my traditional Rhubarb Pie, as well as a Rhubarb Custard Pie, Blueberry Rhubarb Pie and Strawberry Rhubarb Pie. This year? Well, we’ll see how far the rhubarb supply goes!

A pie made with rhubarb and sweetened just right is lovely and satisfying. Here’s the extremely simple recipe that transforms rhubarb into a fantastic Rhubarb Pie.

Rhubarb Pie Recipe

Ingredients:
4 cups of chopped rhubarb
3/4 cup sugar
3 Tablespoons corn starch
1/2 teaspoon cinnamon

Method:
Mix ingredients well in a large bowl.
Fill a pastry shell, then fit top crust.
Seal and pinch around the edge to form crust.

Bake at 400F for about 50-60 minutes.

Enjoy!

Blueberry Pie with Lemon Pastry Crust

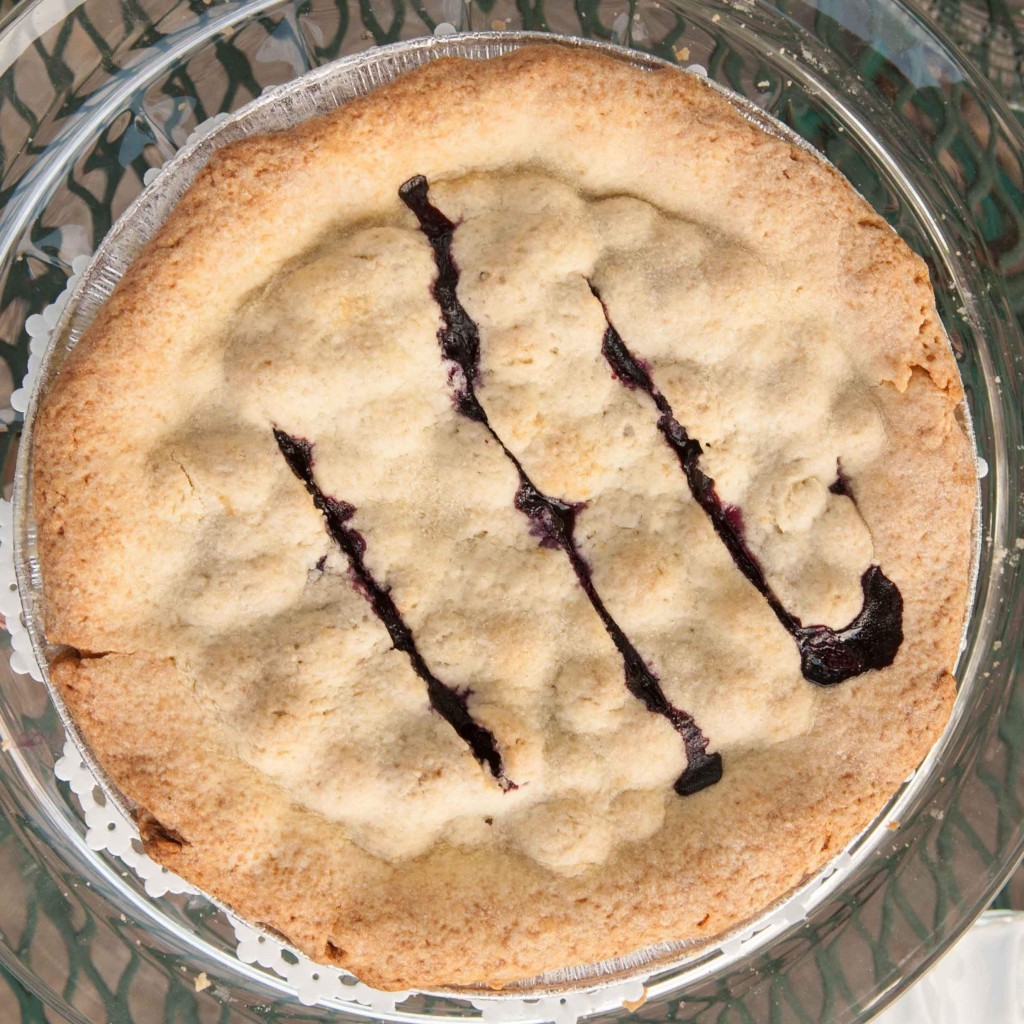
Blueberry Pie with Lemon Pastry Crust; Photo by Diane & Doug Russell

This pie is my daughter’s very favorite, and since she’s coming home this week for a visit, I’ll be making one for her. I’m also offering Blueberry Pie with Lemon Pastry Crust as Pie of the Week.

When I first heard of this pie crust, I knew I had to try it. Within 24 hours, my family was sampling the finished pie. They adored the Lemon Pastry Crust, claiming it was good enough to eat on its own. (I’m known to bake crust scraps, should there be any, as instant cookies to snack on!)

The recipe is no more difficult than any pie crust.

Blueberry Pie with Lemon Pastry Crust

Ingredients:

For the Pastry:
2 cups flour
1/2 cup of powdered sugar
4.5 ounces of butter, cut into cubes
Zest of 1 lemon, finely grated
1 egg, beaten (reserve 1 Tbsp)

For the Pie Filling:
4 cups (about 1 pound) blueberries
1/2 cup sugar
1 Tbsp lemon juice
3 Tbsp cornstarch

Method:
To make the pastry, combine the flour and powdered sugar into a large mixing bowl. Add the butter and lemon zest, and cut in with a pastry cutter to make a fine crumbly mixture.

Drizzle in the beaten egg (reserve 1 Tbsp) and about 1 tablespoon of cold water, then gently work together with a fork until you have a ball of dough. If you have time, you can wrap and chill the dough for about 30 minutes.

Then roll out the dough on a lightly floured surface to line the pie pan and another to form the top crust.

Fill the bottom crust with the blueberry filling and then top with the remaining pastry.

Brush over the surface of the pie with the reserved egg. Make several slits in the top crust to vent. Then place the pie in the preheated 400F oven for about 30-35 minutes, or until the top is golden and crispy.

Coconut Cream Pie Recipe

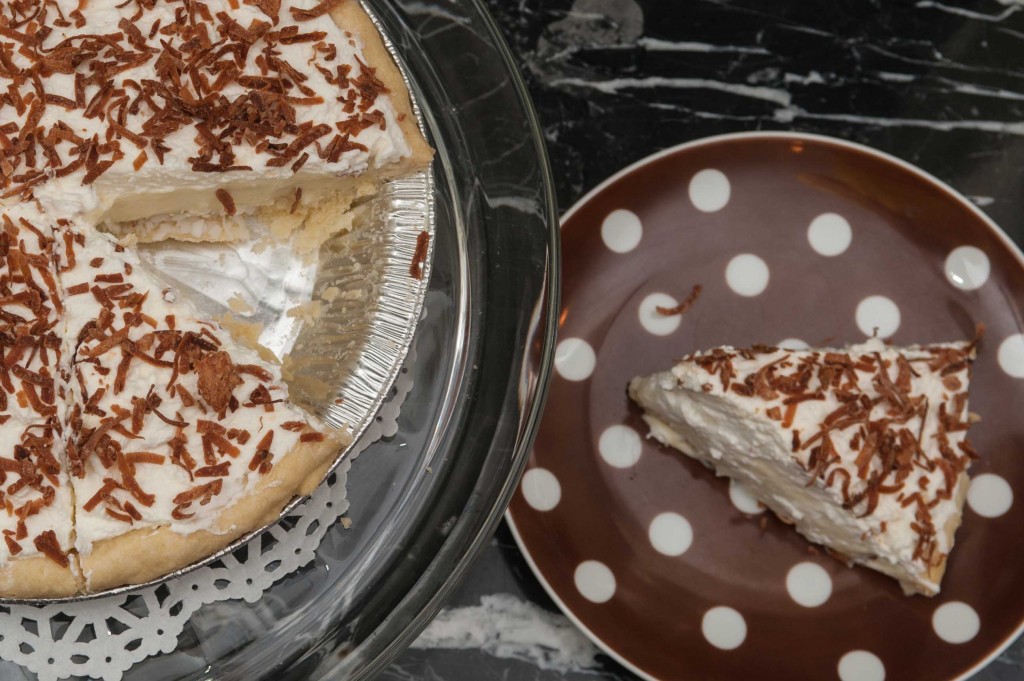
Coconut Cream Pie
Coconut Cream Pie

Let me say first that this Coconut Cream Pie is completely worth the effort! There maybe be short cuts or substitutes for homemade pudding pie filling, but there’s nothing quite like the real thing.

Don’t let the difficulty of homemade pudding worry you, if that sort of thing does. Like all things worth doing, this pie takes a little patience and practice, but again it’s fantastic! When making this Coconut Cream Pie recipe, focus on this one thing for 20 minutes, and you’ll have a pie you’ll be very pleased with.

Coconut Cream Pie

Ingredients:
1 cup coconut milk
2 cups half-and-half
2 eggs
3/4 cup white sugar
1/2 cup all-purpose flour
1/4 teaspoon salt
1 cup flaked coconut, divided
1 teaspoon vanilla extract
1 baked pastry shell

Method:
1. In a medium saucepan, combine the coconut milk, half-and-half, eggs, sugar, flour and salt. Stir until smooth.
2. Slowly bring the mixture to a boil over low heat, stirring constantly. Use a whisk or a rubber spatula to keep the mixture moving as it heats.
3. Remove from heat and stir in the vanilla and 3/4 cup of the coconut (not toasted).
4. Pour pudding into the pie shell and chill for 2 to 4 hours.
5. Meanwhile, toast the remaining 1/4 cup of coconut. Spread it evenly on an ungreased cooking sheet and bak in a 350F oven for 5 to 7 minutes or until golden brown. Stir occasionally. Be attentive: coconut will brown quickly.
6. Sprinkle toasted coconut over the top before serving. Or add whipped cream or whipped topping and toasted coconut both, if you prefer.

Note: You can also toast all of the coconut in this recipe, before assembling the ingredients. I prefer un-toasted coconut inside the filling.

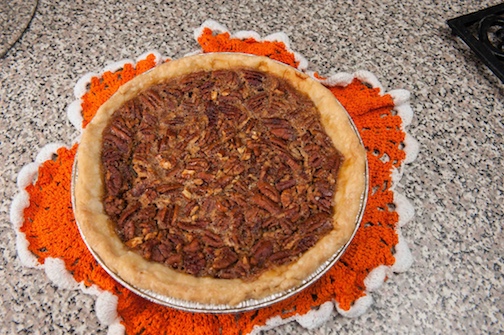
Pecan Pie Recipe

Pecan Pie, from Why Not Pie
Pecan Pie, Photo by Doug & Diane Russell

There are as many different Pecan Pie recipes as there are ways to say “pecan.” That is to say, there are a lot of variations on the classic Pecan Pie.

A couple years back, I made several kinds of comparison pies– with all white sugar, all brown sugar, all corn syrup, or various mixtures — and had taste-testers let me know what they thought. I’d like to say that’s how I developed a really great pecan pie recipe, but maybe it was just good luck.

This recipe calls for a variety of sweeteners to add depth to the filling, so you’ll find white sugar, brown sugar, corn syrup and a touch of molasses. Fill your crust to the top, but don’t overfill. You may find yourself with a little excess filling, depending on the depth of your pan, but save it for another pie.

Pecan Pie

Ingredients:
1 cup white sugar
3 tablespoons brown sugar
1 tablespoon molasses
1/2 teaspoon salt
1 cup corn syrup
1 teaspoon vanilla
1/3 cup butter, melted
3 whole eggs, beaten
1.25 cups of chopped pecans
1 unbaked Pie Crust

Method:
1. Prepare pie crust. Line pan and crimp edges.
2. Mix sugar, brown sugar, molasses, salt, corn syrup, vanilla, butter, and eggs together in a large bowl.
3. Spread chopped pecans evenly in the bottom of the pie shell.
4. Pour the syrup mixture over the pecans.
5. Lightly spray foil with non-stick cook spray, and then cover the pie, lightly folding foil over crust and filling. Bake at 350F for 30 minutes. Remove foil, and bake for about 20 more minutes, checking frequently so crust or pecans does not burn.
6. Pie is finished when center is firm and not too soft. Center should spring back when touched. If pie does not set up, cover with foil and bake for 10 minutes longer.
7. Allow pie to cool before slicing into thin pieces.

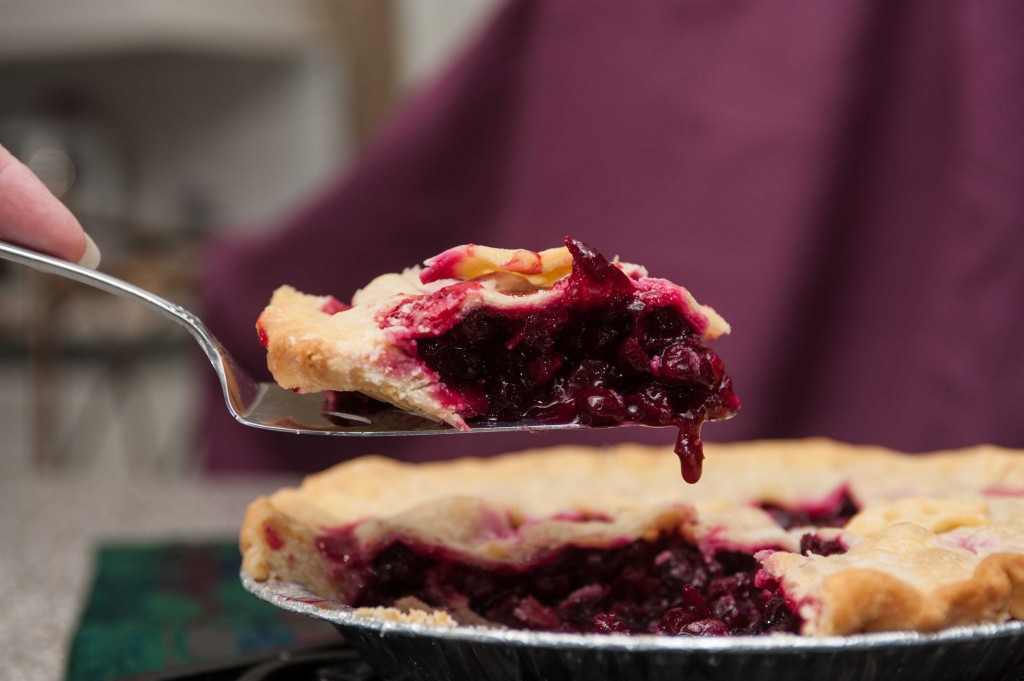
Cranberry Pie Recipe

Cranberry Pie, Photo by Diane & Doug Russell

Cranberry Pie seems invented specifically for the holidays! Cranberry Pie a perfect pie for the season when fresh cranberries abound at the markets and groceries.

Cranberry Pie captures the fresh bright flavor of cranberries. This pie calls for a bit more sugar than I usually put in a 9-inch pie, but in this case, it is completely necessary. The sweetness helps tame and balance the zingy but wonderful cranberry taste.

Fresh cranberries aren’t available year-round, and even frozen cranberries can be hard to come by. If you fall for this pie or love cooking with cranberries, you should buy extra bags of cranberries when you see them fresh in the grocery store. Pop a few bags in the freezer for future use. Cranberries don’t need to be washed before freezing; just rinse them before use and add them to your recipes.

Cranberry Pie

Ingredients:
4 cups cranberries
1 and 1/4 cup sugar
1 tablespoons cornstarch
1 teaspoon orange juice
1/4 teaspoon of freshly grated nutmeg
pince of salt
1 tablespoon butter
Double crust pie pastry

Method:
1. Briefly pulse 3 cups of cranberries in food processor or chop them coarsely.
2. Add chopped cranberries, whole cranberries, sugar, cornstarch, nutmeg, orange juice, and salt into a large bowl and mix well.
3. Line pie pan with pastry, and then add the cranberry mixture.
4. Dot with butter, and then cover with top crust.
5. Trim extra dough and crimp edges.
6. Bake at 375 F for about 40-45 minutes.

How to Turn a Pumpkin into a Homemade Pumpkin Pie

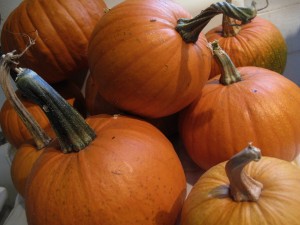
Are you tiring of candy season and longing instead for the spiced and subtly sweet flavor of that Thanksgiving dessert of choice? If you love pumpkin pie as much as my friend Chris, you might be interested in joining her grassroots campaign to make pumpkin pie the official dessert of Halloween. It makes good sense too because pumpkins and Halloween do go together– as long as we keep in mind the difference between jack-o’-lantern pumpkins and pie pumpkins.

For carving pumpkins, most people want large pumpkins. Smaller, sweeter “pie” pumpkins, however, are best for baking and cooking. When shopping for a pie pumpkin, look for one in the 3 to 8 pound range. In previous seasons, we’ve grown Small Sugar Pumpkins, an heirloom variety from Seeds of Change. We started them from seeds outdoors directly in the soil, and once again, we were delighted watching the substantial vines and leaves grow and counting the many pumpkins they produced. Other popular pie pumpkin varieties include Baby Bear, Baby Pam, and Sugar Treat.

Growing pumpkins is fun and easy. The plants make for an endlessly amusing topic for garden walks. For a couple of years, we’ve grown pumpkins along a fence, which has turned out better than we could have imagined. Pumpkin vines are strong and easily grip onto the support of the fence with just a little encouragement. That way, the pumpkins are kept off the ground so they develop nice and round with no soil contact spots. For most of the growing season, our pumpkins were safe from the neighborhood squirrels, who had plenty of other stuff to eat. Come mid-October, however, these ravenous squirrels will eat anything so as soon as we noticed nibbling, we picked the remainder of our pumpkins — both fully orange and those still somewhat mottled orange and dark green — and brought them inside. Happily, the pumpkins stored inside finished turning and are all now completely orange.

Making a pie pumpkin into a pie is a multi-step process, but it’s not a particularly hard one. The result is a pumpkin pie that is superior, I will assert, to what can be purchased in a store or even made from canned pumpkin.

Roasting the pumpkin
The first step is roasting the pumpkin. Wash the outside well and scrub off any dirt. Slice the pumpkin in half with a large, sharp knife.

At this stage, I take the time to poke out all of the seeds because we enjoy roasting them too. The seeds can be quite easily prodded loose from the pulp and then soaked or rinsed clean. Recipes for roasting pumpkin seeds can be found here and here.

Then scoop out all of the stringy bits of pumpkin insides. I like using an ice cream scoop or kitchen scoop to do this task. A sharp edge makes the clean-out process easier.
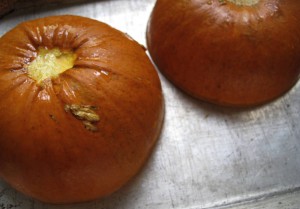
Place the pumpkin cut-side down in a shallow roasting pan or glass dish and add enough water to have ½ inch in the pan. Bake in a 350 degree F oven for about an hour. This is the technique I use for roasting most squash. It requires very little effort and attention. Others advocate microwaving or using a crock-pot, but I like oven-baking best.
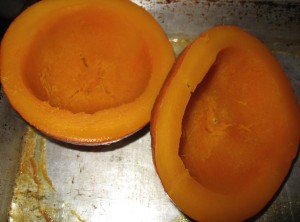
When the baking is finished, allow the pumpkin to cool to near room temperature for easy handling. Then scrap out as much of the soft pumpkin as you can. To get a smooth texture, you can mash the pumpkin, or use a hand-blender, or pulse in a food processor. I like putting the pumpkin through the food mill.

Finally, the pie

Here’s my favorite pumpkin pie recipe. It calls for 3 cups of homemade pumpkin puree and makes two 8 inch pumpkin pies or one larger pie. If you have more filling than fits in the pie(s), you can bake it separately in greased or cooking-sprayed ramekins or other glass dishes. Then you can sample your delicious homemade pie filling straight out of the oven while leaving the pumpkin pie intact for showing off.

Homemade Pumpkin Pie

Ready to fill unbaked pie crust
3 cups of homemade pumpkin puree, cooked and mashed
1 cup of sugar
1 teaspoon cinnamon
¼ teaspoon freshly ground nutmeg
¼ teaspoon freshly ground allspice
¼ teaspoon freshly ground cloves
¼ teaspoon ground ginger
¼ teaspoon salt
3 eggs
½ teaspoon of vanilla extract
1-12 ounce can of evaporated mlik

Combine ingredients and mix well using a whisk or hand blender. Filling may seem runny, but that’s fine. Pour carefully into a prepared pie shell.

Bake in 400 degree F oven for 50-60 minutes. Pie is done when a knife inserted into the custard comes out clean.

Some people claim that you can make a fine pumpkin pie out of any pumpkin. If I’m going to the effort of making a homemade pumpkin pie from scratch however, I will use a pie pumpkin because I know that works great. I’ve heard that other squashes like acorn or butternut make perfectly good “pumpkin” pies. I’m not a fan of secret substitute, however, since the unfortunate childhood incident wherein my dear grandmother tried to pass off liver as “just another cut of beef roast.”

If you haven’t grown your own pie pumpkins this year, you can find them at many groceries and at farmers’ markets. You may consider growing a vine or two next year to make your own Halloween or Thanksgiving pumpkin pie.

My article originally appeared on the 20minutegarden.com and annarbor.com on November 1, 2011.
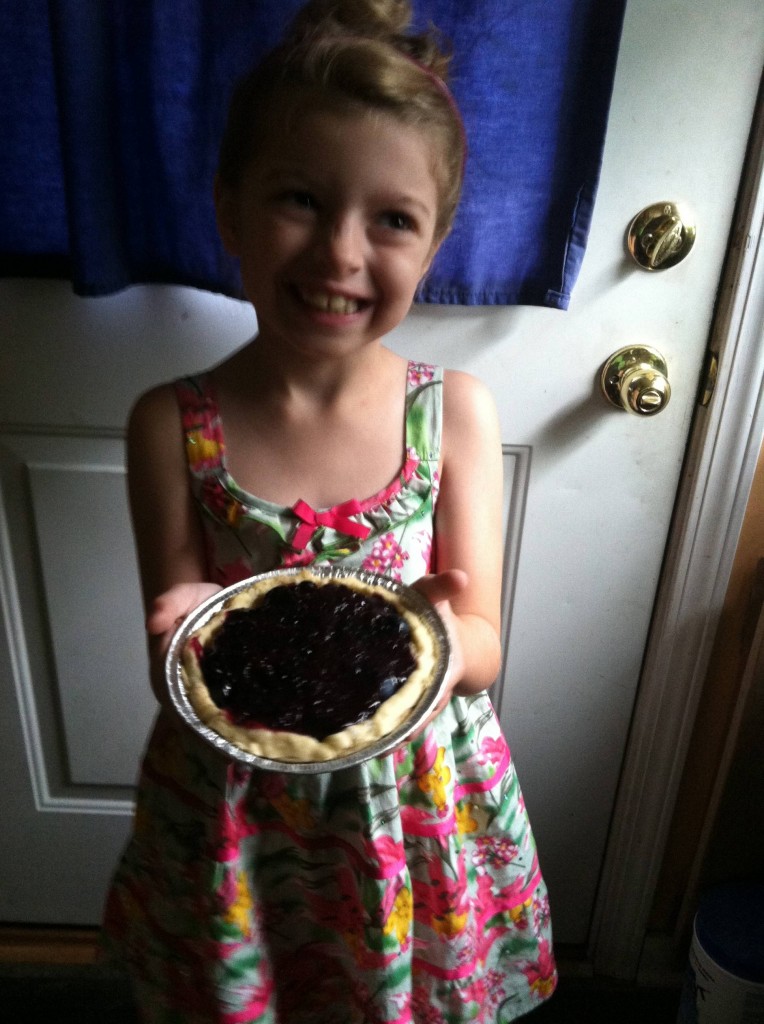
A little pie for a little friend

This week, I made a special little pie for a special little friend.

Emma with her little Blueberry Pie

Even though I’ve been making mini pies for a couple of years, this one was a particularly great success– maybe because of that smile.

Since my little friend likes blueberries, I made her a Fresh Blueberry Pie– and she helped.

We started with a small pre-baked crust. We sorted and washed about 1/2 cup of blueberries.

Then came the hot part, and my little friend stood back for this. I made up a quick blueberry glaze with 1/3 cup sugar and 1 tablespoon of cornstarch. Mix those well in a pan. Then add a 3 tablespoons of water and 1/3 cup mashed blueberries. Cook over medium heat until boiling, and then boil for 1 minute. You’ll end up with a nice blueberry glaze, and this small amount will cool very quickly. Stir in 1/2 teaspoon lemon juice, and continue to stir the glaze. When it’s cool to the touch, spread the glaze over the blueberries in the pie crust. (“Extra” glaze can be eaten with a spoon!) Top the pie with a piece of wax paper and chill.

When cool, remove from the refrigerator and pose with your pie. Then enjoy!

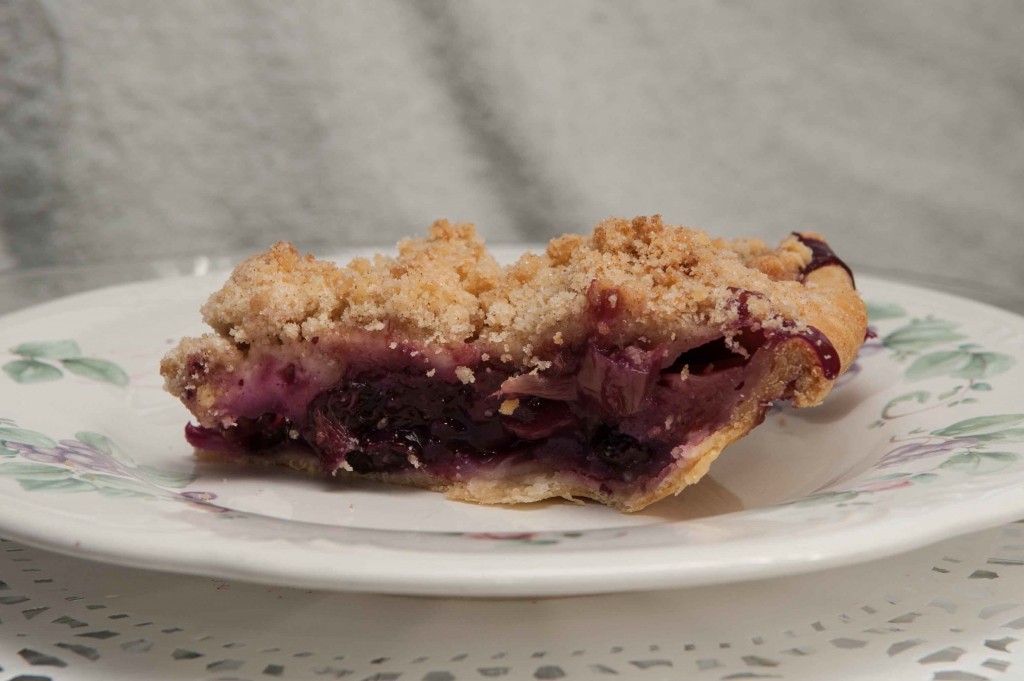
Fresh Blueberry Rhubarb Pie captures the flavors of spring, with Recipe

Blueberry Rhubarb Pie, photography by Diane & Doug Russell

Last summer, I came across a reference to a Blueberry Rhubarb Pie, and I wanted to make one right away. Unfortunately, rhubarb season was long gone. Rhubarb is really best in spring in Michigan; the heat makes it less desirable by high summer.

So I had been dreaming of trying out this fruit combination since then. The fresh flavor of the combination was worth the wait.

My testers liked it too. A rhubarb fan called this a “very grown-up” pie. Another tester who is not fond of rhubarb noted that the berries’ “redemptive qualities extended to the rhubarb.”

Blueberry Rhubarb Pie with Crumble Top

Ingredients:
2 cups rhubarb, rinsed & sliced
2 cups blueberries, rinsed & picked over
3/4 cup sugar
3 tablespoons cornstarch, whisked with 1/4 cup cold water
1 teaspoon of orange zest
1 tablespoon fresh orange juice
1/4 teaspoon salt
1/2 teaspoon cinnamon
1/4 teaspoon freshly grated nutmeg

Method:
Combine ingredients and mix well.

Turn into pastry lined pan. Crimp edge.

Top with crumble mixture.

Bake at 400F for 50-60 minutes.